403 Forbidden
ERR_WEB_NGX_403
Rated EXCELLENT on
![]()
Platinum Trusted Service, based on over 42,000 reviews.
Reptile thermostat setup is usually fairly simple, but some thermostats can be more complicated. Read our guide on how to set them up.

If you're here, you've probably just received your new reptile thermostat, and are unsure of how to set it up. If you still haven't got your thermostat, and are unsure on which type of thermostat you'll need, take a look through our guide on how to select a reptile thermostat.
How to set up your thermostat is fairly simple, but can differ between enclosure types and the type of thermostat - digital thermostats that have separate day and night settings or other features may be a little more complicated to set up settings wise, but the physical setup remains the same.
Your thermostat will comprise of three cables, a plug, a plug socket(s), and a waterproof thermostat probe. Your thermostat probe should be placed in the area where you wish to control the temperature, usually directly under the heat source in your reptile's basking spot. The probe will feed the current temperature back to your thermostat, telling it whether to increase or decrease the temperature accordingly.
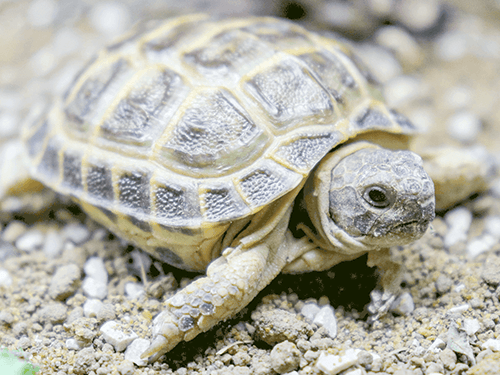
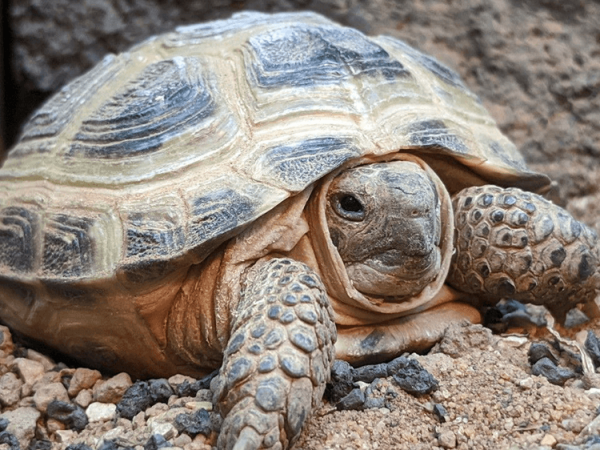
If you have a low enclosure, the chances are you have a terrestrial reptile, so you need your basking spot to be on the ground and your temperature gradient to run from one side to the other.
This means your heat bulb or ceramic heater should be installed into the ceiling or on top of the enclosure, set off to one side and your thermostat probe placed on the ground surface directly underneath the heat source.
This will create a hot basking spot on that side of the enclosure, a warm ambient temperature throughout the middle of the enclosure and a cooler area on the opposite side of the enclosure, perfect for allowing your reptile to regulate its own body temperature.
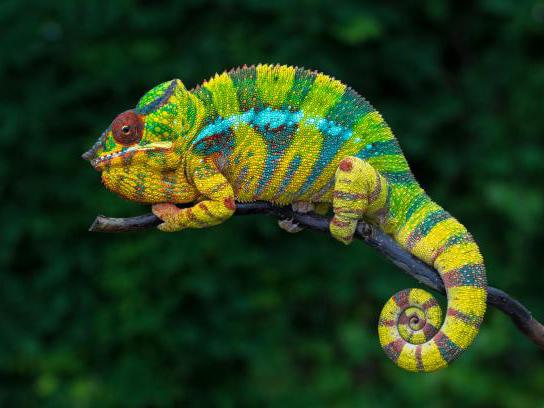
In taller, arboreal enclosures, your temperature gradient will run from top to bottom instead, with a warm canopy up top, and a cool forest floor down on the ground.
This means your thermostat probe will need to be placed higher up too, but it is important to keep in mind that some thermostats do not work as well when they are not placed against a surface.
Therefore, your heating element should be installed into the ceiling or on top of the enclosure, close to one of the sides or back. This will allow you to attach your thermostat probe to the inside wall of the enclosure to ensure it is rested against a surface.
You can also lay the probe on top of a basking perch or branch, in a similar way to laying the probe on the ground of terrestrial habitat, but this can get a little messy without good cable management.
You should avoid doctoring the probe in a way that it is suspended in the air, as although some thermostats will control the temperature just as well when set up like this, some will not.
Heat mats are usually used on the outside of small terrariums, either underneath or stuck on the side or back of a glass terrarium or are sometimes set up inside wooden vivariums in a glass heat mat holder, underneath the substrate layer.
No matter which way the heat mat is placed, your thermostat probe should rest on the inside surface, opposite the heat mat. So either on top of the substrate layer or on the inside wall of the terrarium if the mat is stuck up the side or back.
Even when using a thermostat, it is important to also monitor the temperature range independently, to ensure there are no faults within your temperature control system.
Your thermometer or digital thermometer probe should be placed in the exact same place as your thermostat sensor probe, as this is the area where the temperature is being regulated.
It is important to remember, however, that all thermostats have a discrepancy of up to 3 degrees on either side of the set temperature, so not to worry if your temperature is not always exactly what it is set to.
Analogue reptile thermostats are one of the easiest pieces of equipment in the hobby. Once you have your probe placement sorted, simply plug your heating element into the thermostat, plug the thermostat into the wall, twist the thermostat dial to the desired temperature and you're good to go.
This is where it gets a little tricky, there is no real one size fits all rule for digital thermostats. Some digital thermostats double as both a pulse proportional or dimming thermostat, some offer separate day and night temperature settings, and some have the facility to switch other equipment, such as UV lighting on or off at set times.
Since every digital thermostat is different, it is important to thoroughly read the instruction manual and set up the thermostat accordingly, but if you're ever struggling, don't hesitate to contact our team who will be more than happy to advise.
You can find lots more reptile advice on this blog including our Ackie monitor care guide, Chinese water dragon care guide and Bearded dragon care sheet.
While you're thinking about setting up your heating system, why not take a look through our other set-up must-haves, from UVB lighting kits to reptile tank decoration?